Wonderful Tips About How To Build A Ledge

Pin On Diy Projects
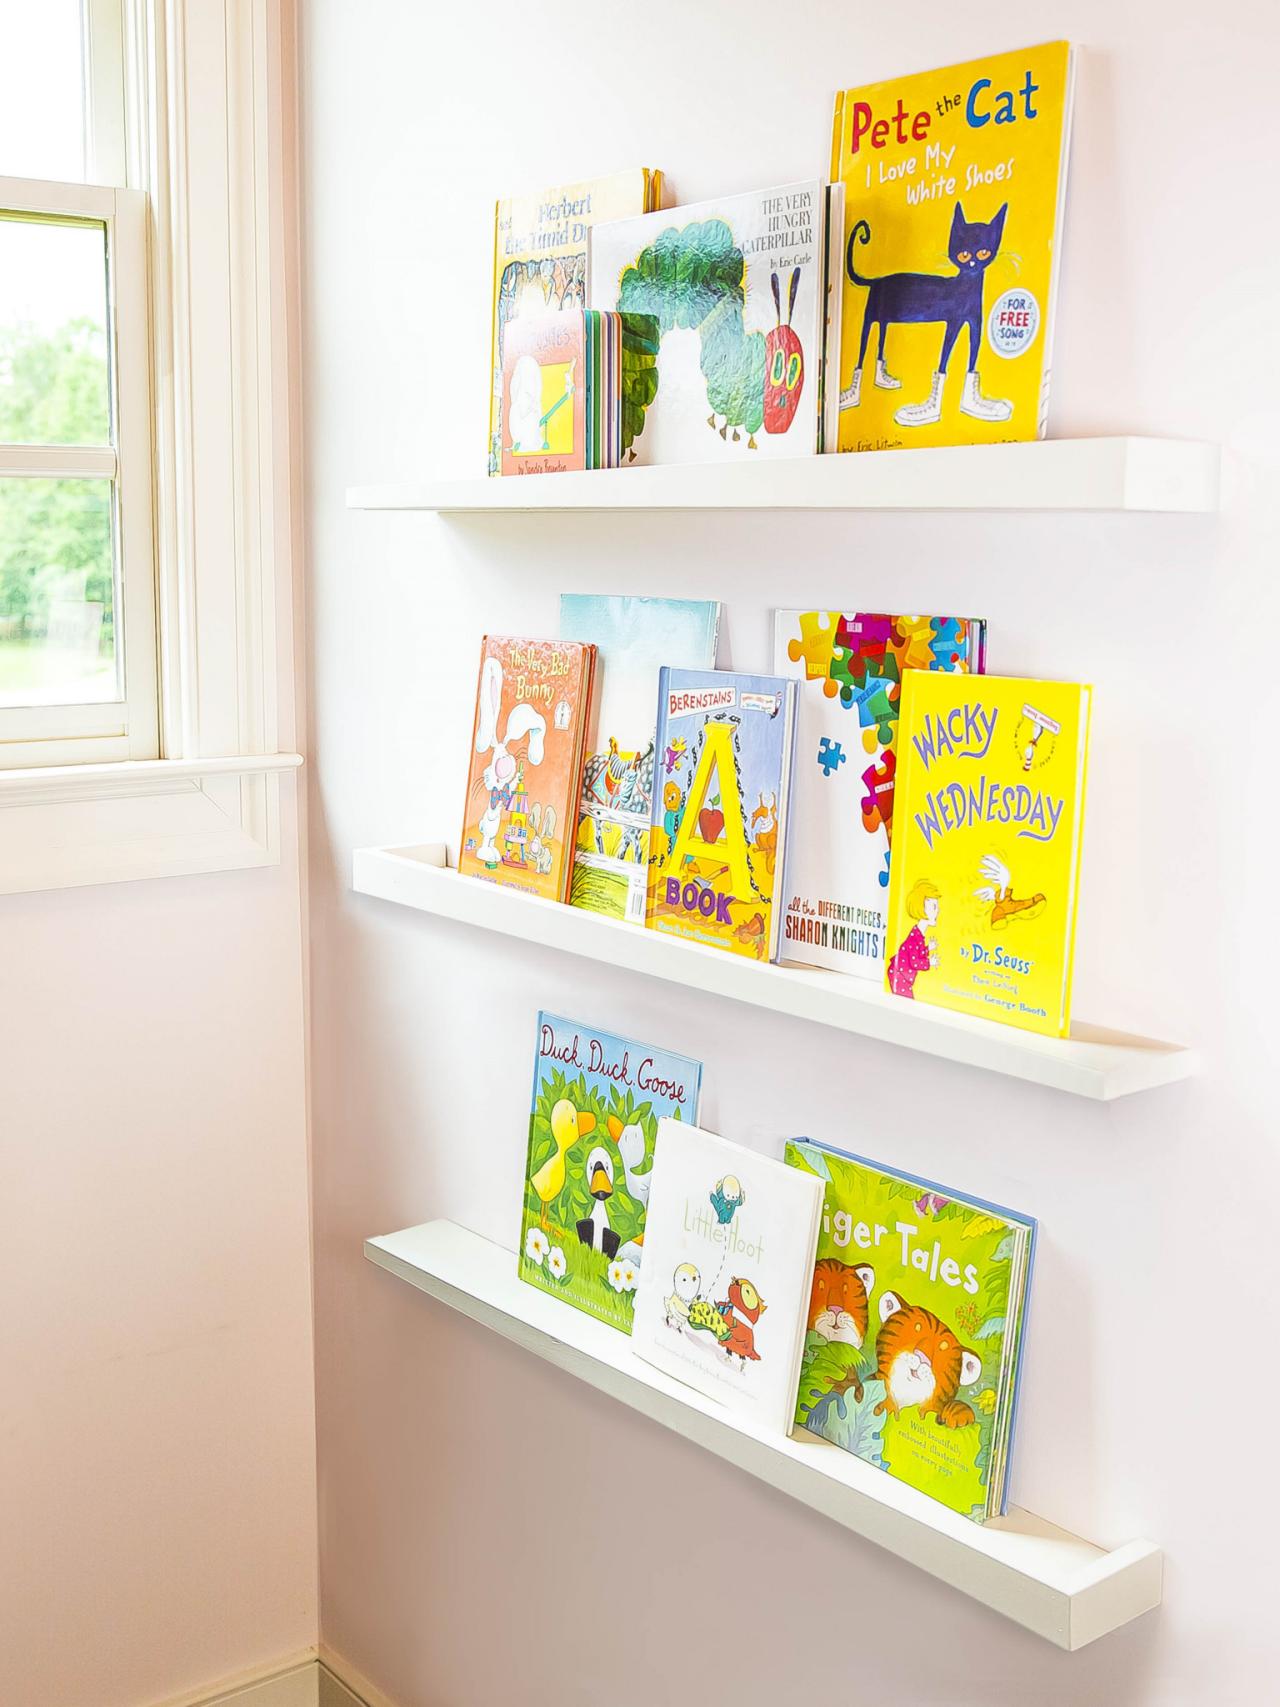
How To Build Book Ledge Shelves | Hgtv

Trick Tip | How To Build A Ledge With Jimmy Cao And Sk8mafia - Youtube

How To Build A Grind Box For Skateboarding | Skate The States

Ledge Shelf Plans | Howtospecialist - How To Build, Step By Diy
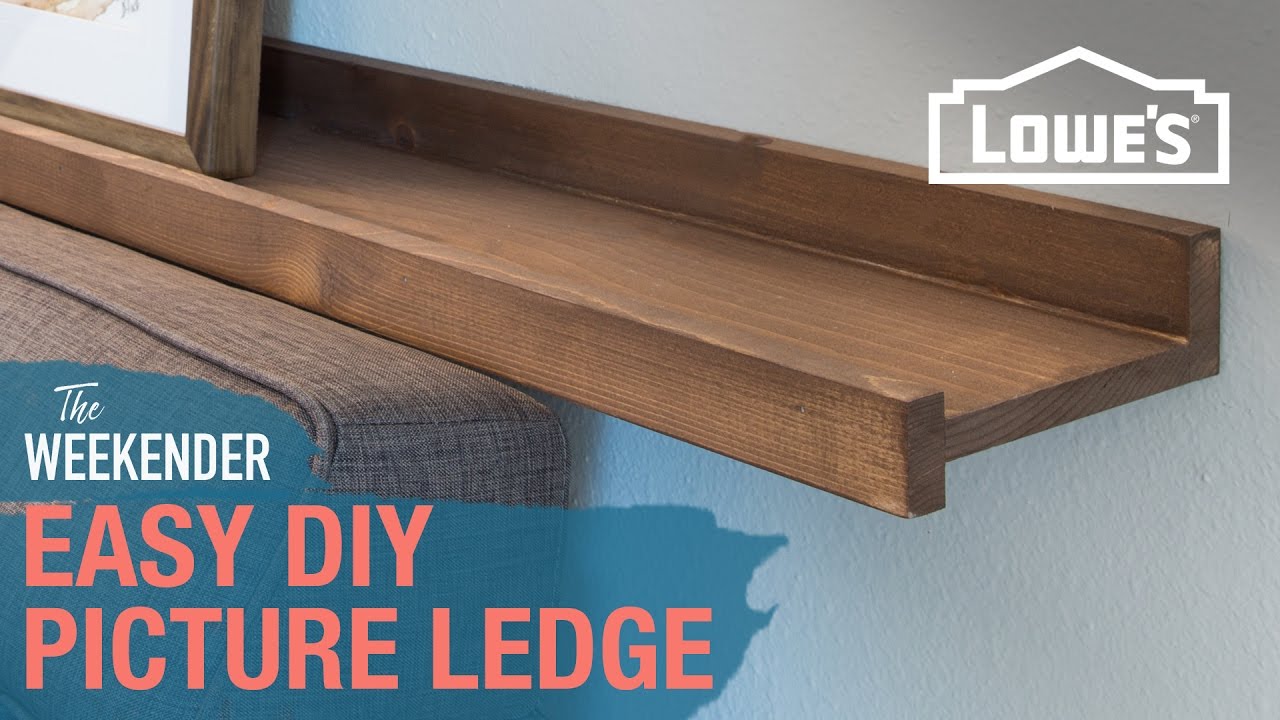
Easy Diy Picture Ledge - Youtube
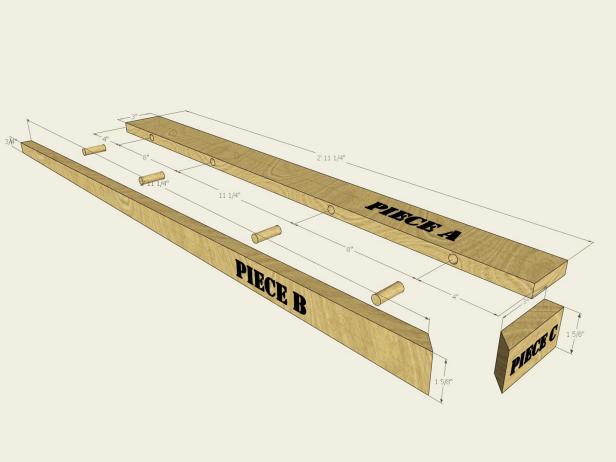
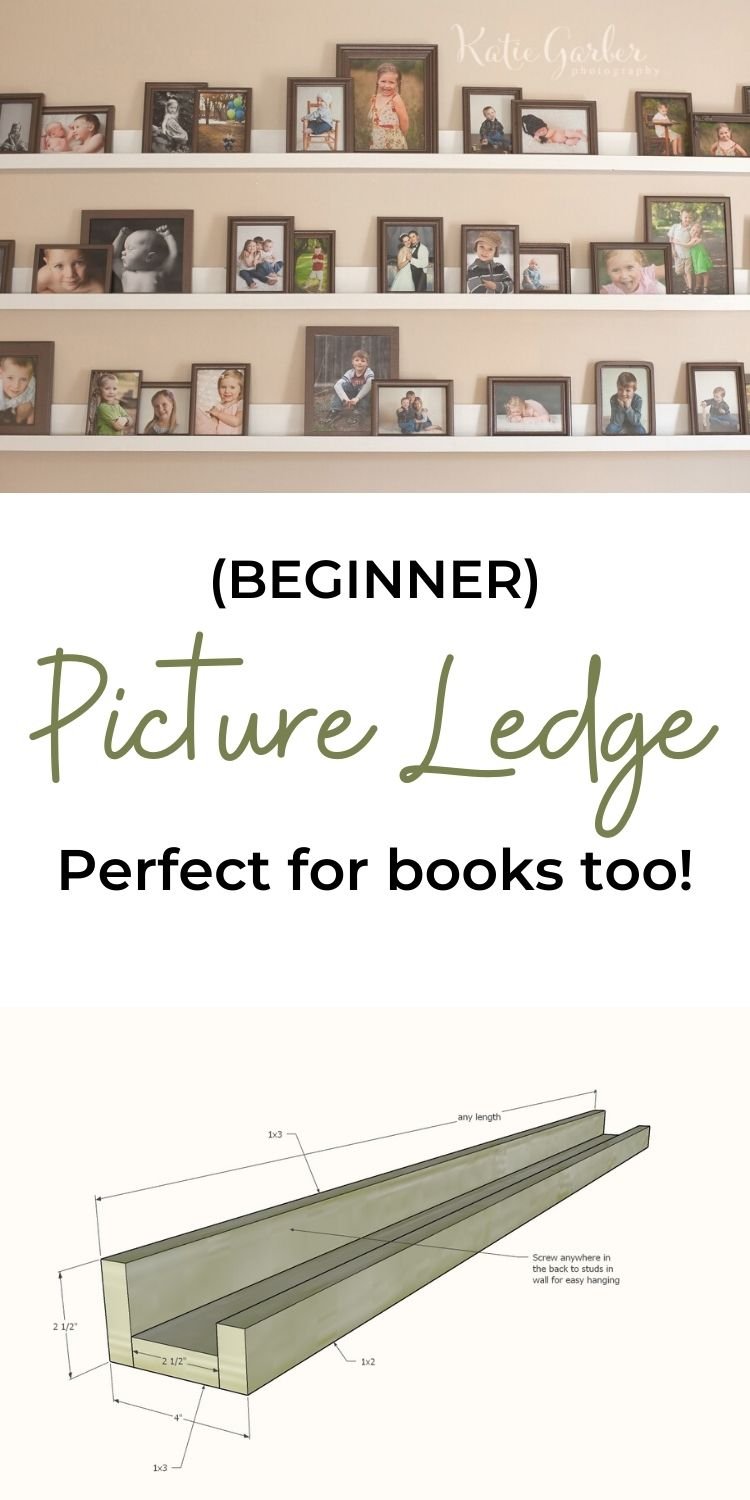
How to build the picture ledge shelf:
How to build a ledge. You’ll want your eventual ledge. Simple birdhouse plans for robins and ledge nesters. Attach the 1”x 2” pine board to the 1”x 6” board by using gorilla glue and lining boards up evenly.
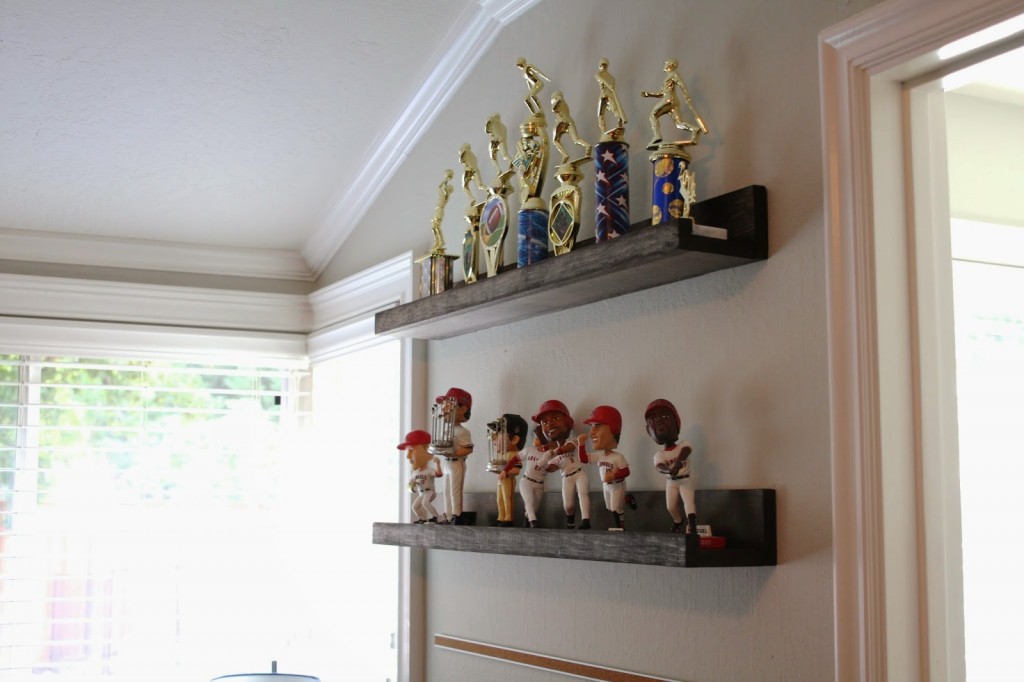
With the wiring complete, i then went ahead and glued. Now you can predrill holes in your ledge for hanging. Steve, sometimes ledge or bedrock is foliated or rotten, and can be broken up with an excavator's bucket.
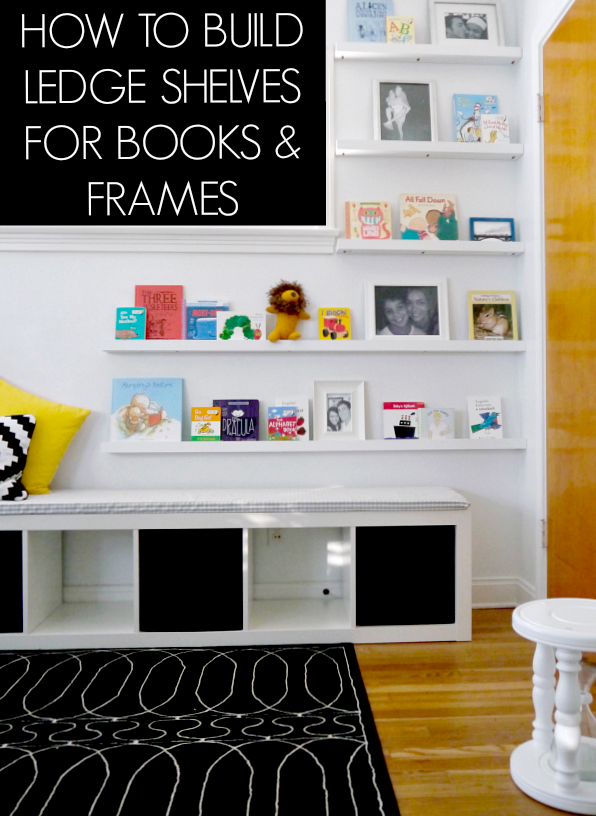
We used 1 x 4s to form the back of the ledge, 1 x 6s to form the bottom of the ledge, and 1 x 2s to form the front of the ledge (which holds all the art in place). Insert a nail every 12”. It is a little more expensive than common boards, but has less.
Watch to learn how to build it. Hold your ledge on the wall where you want it. Up your decor game by displaying items on a diy picture ledge.
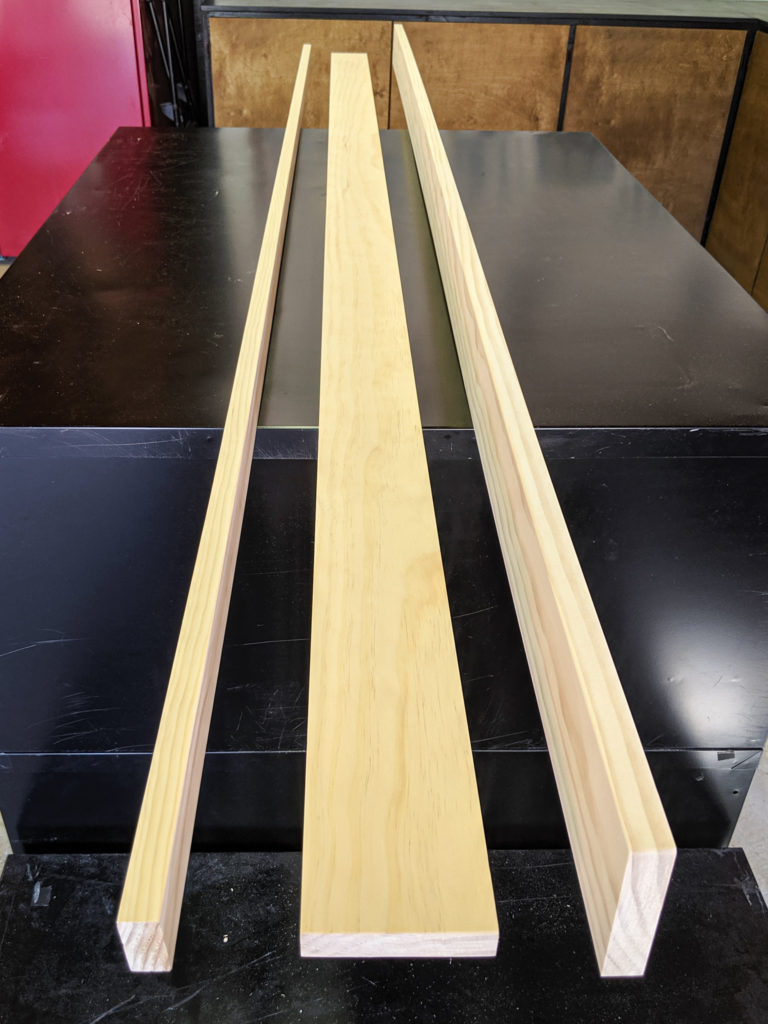
Select pine wood is very affordable. The next level up is a hydraulic hammer, aka jackhammer, aka. Put the 1×3 piece vertically on top of the edge of the 1×4, making sure the 1×3 and 1×4 are lined up flush on one side, and clamp them together to hold in place.
The first step of the project is to build the bottom of the ledge. In order to get the job done in a professional manner, we recommend you to cut the component out of 1×4 lumber and to. For this picture ledge, i decided to purchase select pine.
Apply loctite on corners of ledge and put rail on and clamp sides and apply. Mark where your studs are located on the back board of your ledge. Then the electrician came and moved the light switches and power points onto the face of the decorative wall panel.
How To Build A Grind Box For Skateboarding | Skate The States
How To Build Picture Ledge Shelves - C.r.a.f.t.

Diy Skate
How To Make A Picture Ledge - Simply Aligned Home
Picture Ledge (beginner Project - Ten Dollars For Full Length Shelf) | Ana White

Diy Picture Ledges - Handmade Weekly

How To: Build A Cinder Block Ledge With Dave Bachinsky - Youtube

How To Build A Ledge - Diy The Easiest And Fastest Way Youtube
Simple Diy: Easy Wall Ledges - Simply Organized

How To Build Diy Wood Picture Ledges | Thrifty Decor Chick Diy, And Organizing

Easy And Light Skate Box Setup : 6 Steps (with Pictures) - Instructables
:max_bytes(150000):strip_icc()/grind_ledge_00-56a875e25f9b58b7d0f2ae7e.jpg)
Building A Grind Box For Skateboarding Or Bmx
:max_bytes(150000):strip_icc()/grind_ledge_06-56a875e13df78cf7729e2b87.gif)
Building A Grind Box For Skateboarding Or Bmx